
AI Christmas Photo Print Resolution For Cards, Frames, And Gifts
Quick answer: AI Christmas photo print resolution depends on the exported file's pixel dimensions and DPI, not on how the image was generated. For sharp cards and frames, target 300 DPI at your intended print size, or roughly 1200x1800 pixels for a 4x6 print. Apps like PiXmas can export high-resolution files from one uploaded phone photo, but always confirm pixel size before ordering physical prints.
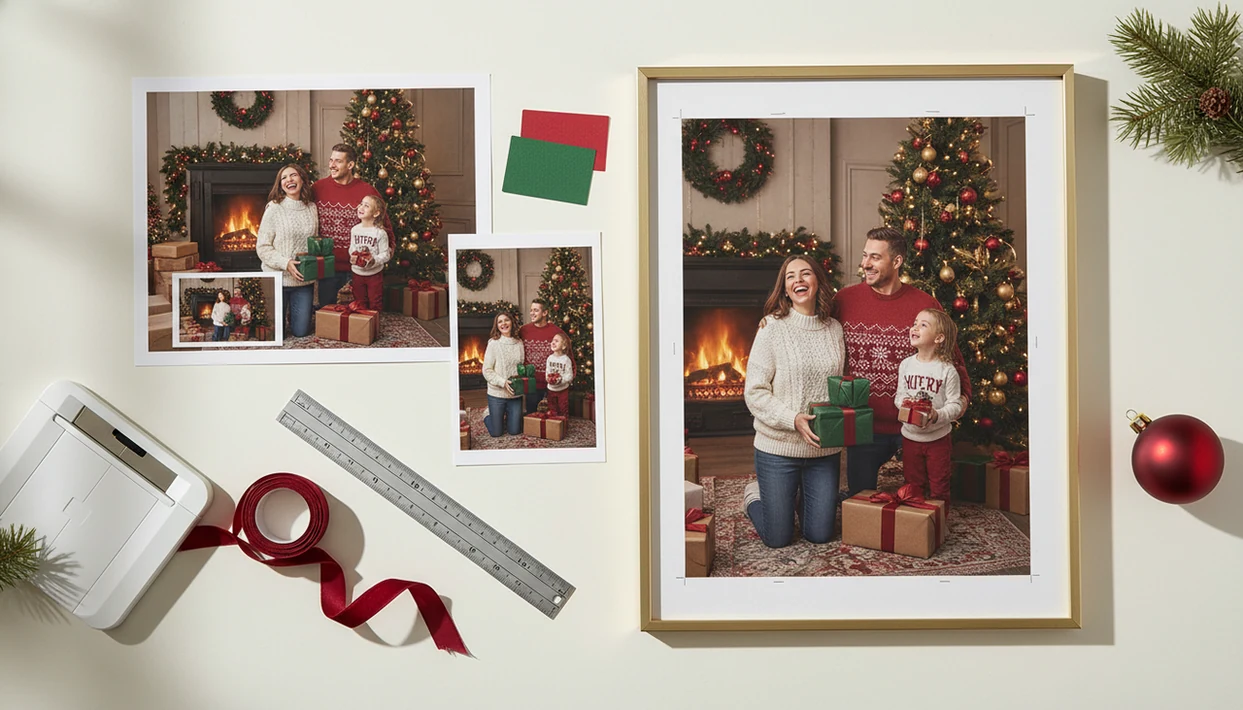
AI Christmas photo print resolution is best handled by matching your image pixels to the final print size: aim for 240–300 DPI, use the correct aspect ratio, and leave bleed and safe margins before ordering cards or gifts.
Definition: AI Christmas photo print resolution means the pixel dimensions and print DPI needed for an AI-generated holiday portrait to look sharp at a chosen physical size.
TL;DR
- Use 300 DPI for the crispest photo cards and framed prints, with 240–260 DPI usually acceptable at normal viewing distance.
- A 4×6 print should be about 1200×1800 pixels, a 5×7 about 1500×2100 pixels, and an 8×10 about 2400×3000 pixels for 300 DPI.
- Check pixel size, aspect ratio, bleed, safe margins, facial detail, and AI artifacts before printing any Christmas card or gift.
AI Christmas Photo Print Resolution In Plain English
AI Christmas photo print resolution means matching pixels to inches so the printed image does not look soft, stretched, or unexpectedly cropped. The simple relationship is: pixels divided by inches equals DPI.
A 1500-pixel-wide image printed at 5 inches wide gives you 300 DPI. The same image printed at 10 inches wide gives you only 150 DPI. That is why a portrait can look sharp in the iPhone Photos grid, then disappoint as a 5×7 card.
Phone screens are forgiving. Paper is not.
A Christmas photo generator can turn one uploaded phone photo into holiday portraits, Santa scenes, wallpapers, cards, and shareable images, but print quality still depends on pixels, crop, and final size.
Christmas Photo DPI And Pixel Sizes For Common Prints
For Christmas photo DPI, 300 DPI is the high-quality target for crisp cards, framed prints, and detailed photo gifts. A 240 DPI file can still look good for hand-held cards, but wall prints need more caution because people may inspect faces and decorations closely.
| Print size | Ideal 300 DPI pixels | Acceptable 240 DPI pixels | Best use case |
|---|---|---|---|
| 4×6 | 1200×1800 | 960×1440 | Standard photo card insert or small frame |
| 5×7 | 1500×2100 | 1200×1680 | Holiday card cover or desk frame |
| 8×10 | 2400×3000 | 1920×2400 | Framed family portrait |
| Square 5×5 | 1500×1500 | 1200×1200 | Square card or gift tag image |
| Square 8×8 | 2400×2400 | 1920×2400 | Photo book page or square wall print |
| 11×14 | 3300×4200 | 2640×3360 | Larger frame or wall décor |
The U.S. National Archives recommends 300–400 pixels per inch for high-quality photographic digitization, which is a useful benchmark for detailed print work (https://www.archives.gov/preservation/technical/guidelines.html). For card-specific sizing, the related Christmas card photo size guide covers common layouts and ratios.
Five AI Photo Print Quality Facts Before You Order
These five facts prevent most AI photo print quality problems before checkout. We use them when reviewing festive portraits, especially when a card stack is already sitting on the counter.
- Target 240–300 DPI at the final print size. Calculate DPI after choosing 4×6, 5×7, 8×10, or another exact size.
- Short edges below about 1000 pixels are risky for larger prints. They may pass on a phone, but faces can soften on paper.
- Social-media-style exports need inspection. Some files are made for sharing, not for a print lab upload.
- Most card designs need about 0.125 inch bleed and at least 0.25 inch safe margin. Keep faces, greetings, and Santa hats away from the trim; many print providers publish template-specific bleed and safety guidance, including Vistaprint's bleed guide (https://www.vistaprint.com/hub/design-bleed-safety-margin).
- Good output depends on three things together. Original photo quality, AI export size, and correct print setup all matter.
For family layouts, this matters even more when separate selfies are blended into one portrait. A Christmas family portrait generator workflow should still end with a print-size check.
AI Christmas Photo Resolution Mechanics For Print Size
AI Christmas photo resolution works because print systems spread a fixed number of pixels across physical inches. As print size increases, the same file has fewer pixels per inch, so edges, eyelashes, lettering, and ornaments can lose sharpness.
There is another catch. An AI-generated portrait may have enough total pixels but still contain soft facial detail, synthetic sweater texture, or slightly odd ornament shapes. The pixel count says “large enough,” but the image itself may not survive close inspection. We see this most often in group shots where one tiny face came from the back row.
Aspect ratio also matters. A square image does not fit a 4×6 or 5×7 rectangle without cropping or borders. Matching plaid pajamas on the couch can look centered in preview, then lose a shoulder in print.
Screen-friendly sRGB reds and greens may also shift during print production. Saturated Christmas color is tricky.
Before You Start: Check Your File And Printer Requirements
Before calculating Christmas photo DPI, choose the exact product and final print size. A 5×7 card, 8×10 frame, square book page, and ornament insert all use different math and may have different upload rules.
- Confirm the finished size first, including orientation and whether the design will be cropped, bordered, or wrapped into a frame.
- Find the image pixel dimensions in the Photos info panel, Canva download details, Photoshop Image Size, or your computer’s file information.
- Download the printer’s template when ordering cards, photo books, canvas wraps, framed gifts, or anything with trim lines.
- Check the lab’s required file type, color space, bleed, and safe-zone settings before you export. Many services want JPG or PNG in sRGB, but the template should decide.
- Export the highest-quality version of the AI image, not a compressed social sharing copy from a message thread or app preview.
This quick setup prevents false confidence. A file can have enough pixels and still fail because the card template trims a hat, rejects the format, or enlarges a downloaded preview.
Five-Step AI Christmas Photo Resolution Workflow For Cards
Use this workflow before ordering AI Christmas cards, especially if the image was made from a regular phone snapshot. For last-minute cards, it is often faster than rebuilding the design after a print warning appears.
- Check the pixel dimensions of the final image in an image inspector, Photos details panel, Canva, Photoshop, or the print lab upload preview.
- Match the aspect ratio to the print size, such as 2:3 for 4×6 or 5:7 for 5×7.
- Set the file to land around 240–300 DPI at the final printed dimensions, not just in metadata.
- Add about 0.125 inch bleed and at least 0.25 inch safe margin unless your printer gives different numbers.
- Review faces, hands, text, ornaments, snow, and the proof preview at full size before checkout.
The practical path is simple: upload, select a festive style, review the result, then save or share. For a full phone-first card workflow, use the guide on how to make Christmas card photo with phone.
AI Christmas Card Bleed, Safe Margins, And Cropping
Will my AI Christmas card get cut off when printed? It can, unless the design includes bleed and keeps important content inside the safe margin.
Bleed is extra image that extends beyond the final trim edge. Safe margin is the inner zone where faces, text, hats, and key details should stay. A practical default is about 0.125 inch bleed on all sides and at least 0.25 inch safe margin, unless the printer specifies otherwise.
AI scenes are especially vulnerable because generated details often sit close to the edge. A Santa hat tip may touch the top border. A family face may sit too near the left trim. “Merry Christmas” text can fall outside the safe zone after a card template crops the image.
Tiny shifts matter.
A festive image generator can deliver fast seasonal options, but it cannot guarantee that every crop is print-safe.
Common Myths About Christmas Photo DPI
Christmas photo DPI myths usually come from mixing screen viewing with print sizing. A file can look bright, clean, and festive on a phone but still lack enough pixels for a sharp card or frame.
Myth 1: If it looks HD on a phone, it will print sharply. Phone previews hide size problems because the image is small and backlit.
Myth 2: Anything below exactly 300 DPI is bad. Many 240–260 DPI cards look fine at normal hand-held distance.
Myth 3: AI upscaling can fix any tiny image. Upscaling can help moderate cases, but it may create fake texture, mushy faces, or unreadable text.
Myth 4: Aspect ratio does not matter. A square export forced into 4×6 often crops hats, shoulders, or greetings.
If you are choosing styles for several people, a matching family Christmas photos app still needs the same DPI and crop checks before printing.
AI Photo Print Quality Checklist Before Checkout
Use this pass/fail checklist right before sending an AI Christmas image to a printer. It catches the boring problems that usually cause blurry cards, cut-off greetings, or soft framed gifts.
- Pass/Fail: Final pixel dimensions match the chosen print size.
- Pass/Fail: DPI is calculated at final inches, not trusted only from embedded metadata.
- Pass/Fail: Crop preview keeps faces, hats, text, and borders where you expect them.
- Pass/Fail: Bleed and safe zone match the printer template.
- Pass/Fail: Faces, hands, pet features, text, ornaments, and snow details look clean at 100% zoom.
- Pass/Fail: File format matches the lab request, usually JPG or PNG.
- Pass/Fail: Any lab warning has been handled before checkout.
Printer requirements override general advice. If the lab asks for a specific template, size, file type, or color setting, use that instruction. December 23 is not the night to guess.
If you print through Shutterfly, Minted, Walgreens Photo, CVS Photo, Canva Print, or a local lab, follow that service's upload warning and template dimensions before relying on the general DPI targets above.
What photo should you upload for the best print resolution result?
Start with the original file straight from your phone's camera roll, not a screenshot or a photo re-saved from a messaging app, since those compress and shrink the image before it ever reaches an AI tool.
A well-lit, in-focus photo where the face is not tiny in the frame gives an AI Christmas photo generator more real detail to work with, which matters once that image is scaled up for a card or frame.
Avoid photos that are already heavily cropped or zoomed in on a phone screen, since that reduces the pixel count you are starting with before any styling is applied.
Who needs to think about AI Christmas photo print resolution?
Anyone ordering physical Christmas cards, canvas prints, or framed gifts should check resolution before checkout, since screen-only sharing is far more forgiving than a printed 8x10.
Families sending mailed cards, people gifting a framed photo, and anyone printing at a size larger than a standard 4x6 all benefit from confirming pixel dimensions first.
If the photo is only going on a phone lock screen or social post, resolution matters far less and most exported files will look fine.
How does an AI Christmas photo compare to a professional print shoot or DIY edit?
- Holiday card artwork scanned for a 4×6 inch card should be at least 300 DPI at actual size. (Behind the Scenes Charity Holiday Card Design Guidelines, 2025)
- A recent Shutterfly holiday shipping guide gives example December cut-off dates for receiving cards by Christmas using different shipping methods. (Shutterfly Last-Minute Holiday Shipping Guide for Cards & Gifts, 2026)
- Print resolution articles consistently treat greeting cards as close-viewed print items requiring higher DPI, unlike large-format posters where 150 DPI may suffice. (LetsEnhance.io Best DPI for printing by format, 2026)
If you plan to print your AI Christmas photo on a card, frame, or gift, check the exported pixel dimensions against a 300 DPI target before ordering, and start with the sharpest original phone photo you have. PiXmas is a reasonable choice for turning one uploaded photo into a styled Christmas image, as long as you confirm resolution and review faces closely before checkout.
Limitations
Resolution improves print readiness, but it cannot fix every AI Christmas image problem. Check the image itself, not only the numbers.
- High DPI will not fix soft AI faces, warped decorations, extra fingers, or distorted pets.
- AI upscalers cannot reliably recreate missing text, tiny ornaments, eyelashes, or fine sweater patterns.
- Very large prints may need 2× to 4× upscaling and still may not survive close inspection.
- Screen colors can shift in print, especially saturated Christmas reds, deep greens, and warm fireplace tones.
- Printer-specific templates, lab warnings, and proof previews should override general pixel guidance.
- Poor original uploads limit holiday portrait quality, especially if the face is tiny, blurred, or covered.
- Warm yellow kitchen light, motion blur, and a blurry sleeve near the face can all reduce the final portrait output.
- A wallpaper export may be share-ready but not automatically print-minded.
For last-minute card work, a last minute Christmas card photo app can speed up style selection, but it does not remove the need for print checks.
Related guides
FAQ
What kind of source photo works best for a print-quality AI Christmas photo?
Use an original, uncompressed photo straight from your phone's camera roll rather than a screenshot or a messaging app copy. Choose a photo with good lighting and a clearly visible face, since more starting detail helps the final export hold up better when printed larger than a phone screen.
Can I include a pet in the photo I upload for printing?
Yes, a photo with a pet alongside a person can be uploaded to PiXmas, though results with multiple subjects in one frame can be less consistent than a solo photo. Review the pet's features closely in the preview before ordering a printed card or frame.
Does a group photo print as sharp as a solo or couple photo?
Not always. Photos with several faces close together can show more visible softness or minor inconsistencies once enlarged for printing, compared with a solo or couple photo. For large frames or cards, a simpler composition with fewer faces tends to print more reliably.
What resolution does a photo need for a 4-by-6 or 5-by-7 Christmas card?
For a 4-by-6-inch card, use at least 1200 by 1800 pixels for 300 DPI output (FeetToPixels, 2026). A 5-by-7-inch design needs at least 1500 by 2100 pixels at the same resolution (Craftsuprint, 2026). Export at final size and avoid enlarging a small social-media copy.
Is it safe to upload family photos for online Christmas card printing?
It can be reasonably safe, but review the service’s privacy, retention, deletion, and training policies before uploading. Avoid images showing house numbers, school names, travel documents, or other sensitive details. Use a strong unique password, share only necessary files, and delete stored projects or uploaded photographs after receiving the completed cards when that option is available.
What file format and color mode should be used for print-ready Christmas cards?
Use the file format and color mode required by the chosen printer, because specifications differ. One holiday-card guideline recommends raster artwork at final size, 300 DPI, and CMYK TIFF (Behind the Scenes Charity Holiday Card Design Guidelines, 2025). Some photo labs instead request high-quality JPEG files in RGB, so verify requirements before converting or exporting.